
How to Prepare Metal Surfaces for Welding: A Homeowner's Guide
Short answer
Remove rust, paint, grease, and mill scale before welding to prevent defects. For steel, wire brush or grind away oxidation, then degrease with paint thinner or alcohol. Aluminum oxidizes within 15 minutes after prep, so sand with P120-P180 grit and work quickly. Stainless steel requires gentler abrasion. Poor surface prep directly causes weld failures, making thorough cleaning essential for any repair.
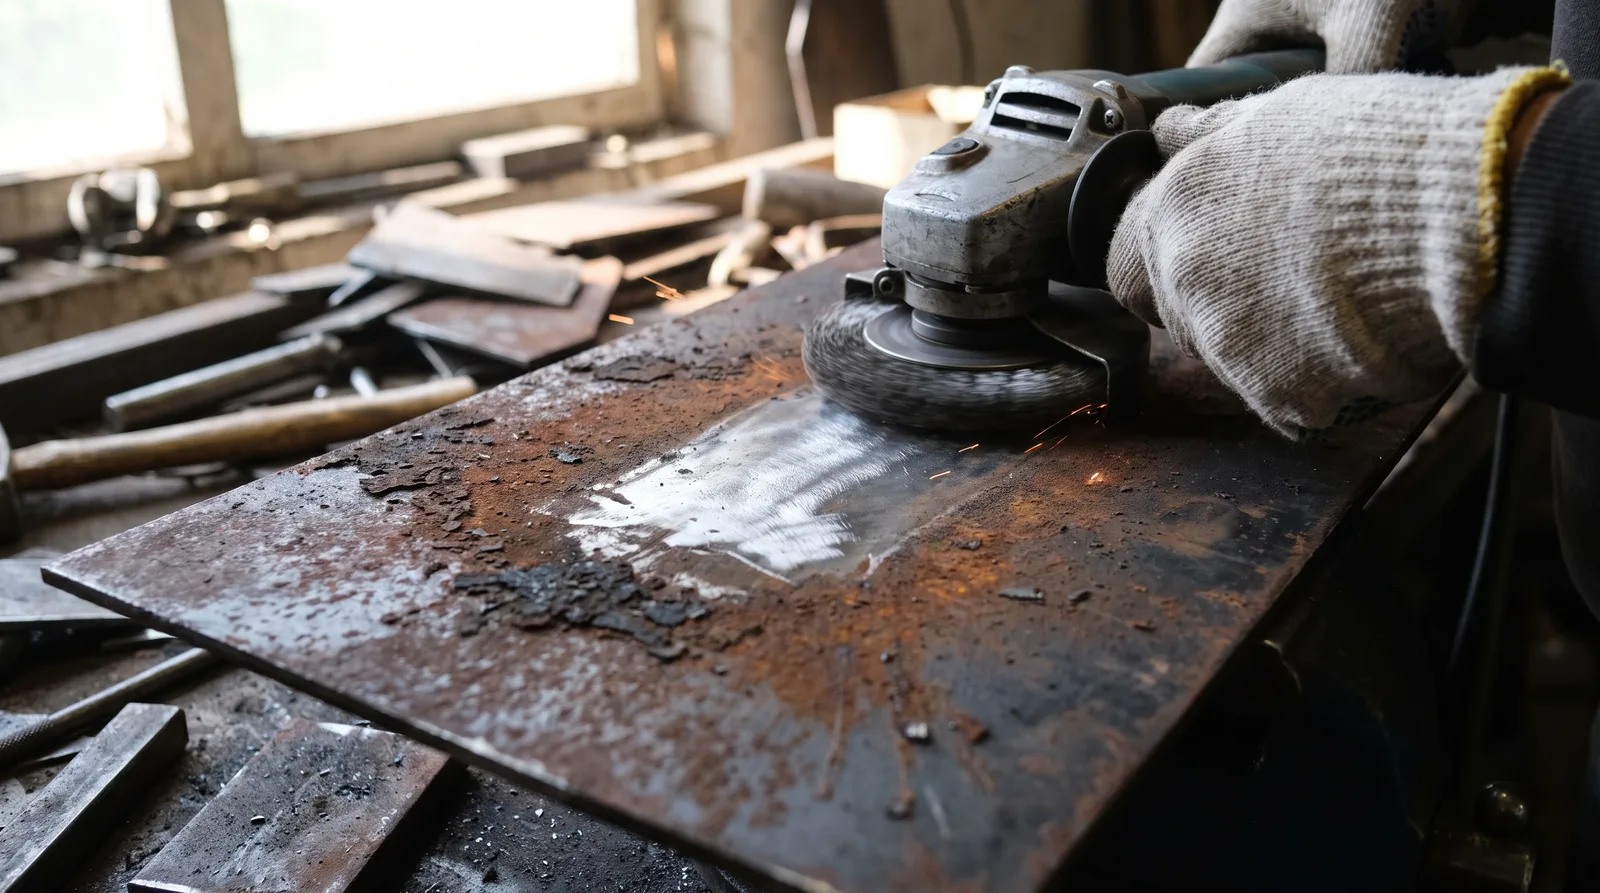
When and Why Surface Prep Determines Weld Success: A Homeowner's Decision Framework#
A weld is only as strong as the surface it bonds to, yet homeowners routinely skip or rush the prep work that determines whether a repair holds or fails. Contamination, rust, mill scale (the dark oxide layer on new steel), paint, grease, and moisture, sits between the metal and the filler material, creating voids and weak planes that crack under load. Poor surface prep contributes directly to weld failures; at least 5% of failures in ASME's breakdown trace to bad groove and joint preparation. That statistic understates the real cost: a failed gate hinge, a cracked railing, or a structural repair that gives way puts liability and safety on the homeowner, not the material supplier.
The decision to prep yourself or hire a professional fabricator turns on three factors: the material type (steel, aluminum, and stainless steel have different contamination risks and prep speeds), the repair's structural role (a decorative gate versus a load-bearing beam), and your timeline. A routine repair on mild steel with a few days to spare is often a DIY win. An aluminum fabrication, an emergency structural fix, or a job where time is tight is where professional prep becomes the faster, safer choice.
How Poor Prep Causes Weld Failures, and Why Metro Detroit Homeowners Can't Skip This Step#
Contamination acts as a barrier between the base metal and the weld pool. When rust or mill scale sits on the surface, the arc cannot melt it cleanly into the weld; instead, it traps gas and creates porosity (tiny voids that weaken the joint). Paint and grease burn off during welding, releasing gases that get trapped in the cooling weld, again creating defects. Moisture and oil promote hydrogen absorption, which can cause delayed cracking hours or days after the weld cools.
The failure mode depends on the contaminant. Rust and mill scale produce brittle, porous welds that fail suddenly under stress. Grease and paint cause spatter, poor fusion (the weld does not bond fully to the base metal), and surface cracks. Moisture introduces hydrogen embrittlement, a delayed failure mode that is especially dangerous in high-strength steels and cannot be detected by eye.
For homeowners in the Metro Detroit area, where freeze-thaw cycles and road salt accelerate rust on outdoor metal, surface prep is not optional. A gate, railing, or structural repair exposed to weather will corrode quickly if the weld itself is porous or if prep was incomplete. Professional fabricators account for this risk by enforcing strict prep standards before they strike an arc.
Routine Repairs vs. Emergency Structural Fixes: When DIY Prep Is Enough and When to Call a Fabricator#
A routine repair, a decorative gate hinge, a loose bracket, a non-load-bearing joint, can often be prepped at home if you have a few days and basic tools. You can wire brush rust, wipe down grease, and inspect the surface yourself. The stakes are lower: a failed decorative weld is an inconvenience, not a safety hazard.
An emergency structural repair, a cracked beam, a failed railing, a load-bearing joint that is giving way, demands professional prep and inspection. The reason is not just skill; it is speed and accountability. Professional fabricators have faster tools and degreasing stations to complete prep in hours rather than days, plus provide documentation for accountability, a record that protects you if the repair fails. For structural work, that documentation is worth the cost of the call.
The time trade-off is real. A homeowner with hand tools might spend a full day prepping a small structural joint. A fabricator with a grinder and a degreasing station does the same job in an hour, then welds and inspects it the same day. If your repair cannot wait, or if the failure would create a safety hazard, the professional move is the only move.
Material-Specific Prep: Aluminum, Steel, and Stainless Steel Have Different Rules#
Steel and aluminum require fundamentally different prep approaches because their oxide layers behave differently. Mild steel forms a dark, brittle mill scale that must be removed by grinding or wire brushing. Stainless steel forms a thin, passive oxide layer that protects the base metal but must be handled gently to avoid pitting. Aluminum oxidizes extremely rapidly (within 15 minutes) after surface prep, requiring immediate welding or priming with no delay.
This means you cannot prep aluminum in the morning and weld it in the afternoon; the window is measured in minutes. For aluminum, the standard practice is to sand with P120-P180 grit paper, then weld or prime immediately. Any delay requires re-sanding.
Stainless steel demands a different discipline. Its passive oxide layer is what makes it corrosion-resistant, so aggressive grinding can damage it and cause pitting (small corrosion holes). Stainless prep uses finer abrasives and gentler methods than steel, and the tools must be dedicated to stainless only (using a steel-contaminated grinder on stainless can introduce rust particles that defeat the whole point).
For a homeowner, this means: if your repair is steel, you have flexibility on timing. If it is aluminum, prep and weld the same day, or do not prep at all until you are ready to weld. If it is stainless, use dedicated tools and finer abrasives, and consider calling a fabricator if you are unsure.
Step-by-Step Surface Preparation: Rust, Paint, Grease, and Inspection#
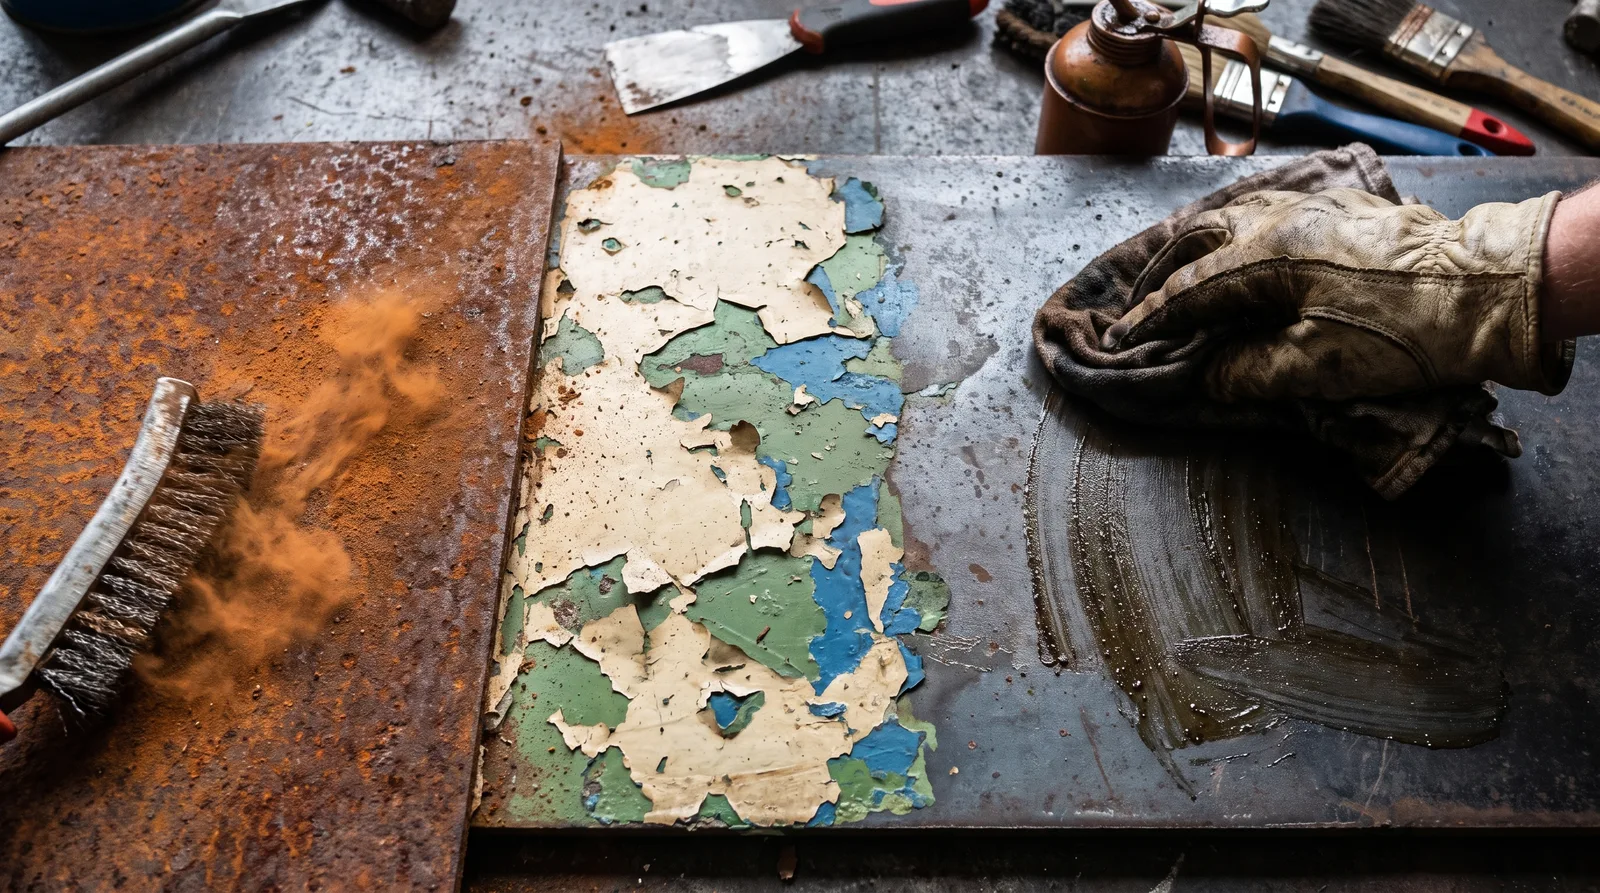
- Surface Prep Sequence
- Remove Rust & Scale
- Strip Paint & Coatings
- Degrease & Clean
- Grind to Finish
- Inspect Visually
- Ready to Weld
Removing Rust and Corrosion: Methods From Wire Brushing to Grinding#
Rust must be removed completely because it is porous and weak. A wire brush removes loose rust and mill scale by hand; an angle grinder with a wire wheel or flap disc removes rust faster and more thoroughly. For heavy corrosion, a rotary tool with a wire cup or a bench grinder works well on small parts.
The choice depends on the rust depth and your tools. Surface rust (orange discoloration with no pitting) yields to a wire brush in a few minutes. Deep rust with pitting requires grinding. A flap disc (a grinding wheel made of overlapping abrasive strips) removes rust and smooths the surface in one step, leaving a clean, slightly textured finish that is ideal for welding.
Do not underestimate the time this takes. A small gate panel with moderate rust might need 30 minutes of grinding. A large structural member with heavy corrosion can take hours. This is where the time trade-off becomes real: a homeowner with a handheld grinder works slower than a fabricator with a bench grinder or a portable abrasive blaster.
Stripping Paint and Coatings Without Damaging the Base Metal#
Paint must be removed from the weld area because it burns off during welding, releasing gases that create porosity. You do not need to strip the entire part, only the area within a few inches of the weld joint.
Wire brushing removes loose or flaking paint. For paint that is well-adhered, grinding is faster. A flap disc or a fine-grit grinding wheel removes paint and rust together. Avoid sandblasting or media blasting indoors; the dust is hazardous and cleanup is difficult. If you must use abrasive blasting, do it outdoors and wear a respirator.
Paint thinner or a wire brush removes paint residue after grinding. Do not use a wire brush on aluminum; it can embed steel particles that will rust. For aluminum, use a soft brass brush or fine abrasive paper.
Degreasing and Cleaning: Rubbing Alcohol, Paint Thinner, and What Actually Works#
Grease and oil must be removed because they prevent the arc from wetting the base metal and promote porosity. Rubbing alcohol and paint thinner both work, but they work differently.
Paint thinner (mineral spirits) is a solvent that dissolves oil and grease. Wipe the surface with a clean cloth soaked in paint thinner, then let it dry. Rubbing alcohol (isopropyl alcohol) also dissolves grease and evaporates quickly, making it useful when you need to weld soon after cleaning. Both are effective; the choice is convenience. Paint thinner is cheaper and more powerful on heavy grease. Rubbing alcohol dries faster and is safer indoors.
For metal that will be primed or painted after welding, degreasing is also the first step. A clean surface accepts primer better and prevents adhesion problems later. Wipe the surface with paint thinner or rubbing alcohol, let it dry completely, and inspect for any remaining residue. If the surface still feels oily, wipe it again.
Grinding and Abrasive Prep: Achieving the Surface Finish Your Weld Demands#
After rust and paint removal, grinding creates the final surface finish. A flap disc leaves a slightly textured surface that is ideal for welding; it provides tooth for the arc to grip and is visually clean. A wire wheel leaves a rougher finish but is faster on heavy rust. A fine-grit abrasive (120-180 grit) produces a smoother, more uniform finish.
The goal is a surface free of rust, paint, and mill scale, with a consistent color and texture. For steel, this is a light gray or silver finish. For aluminum, it is a dull silver or white finish. For stainless, it is a brushed or slightly textured appearance.
Grinding also removes any surface contamination that wire brushing missed. A final pass with a fine-grit disc ensures a uniform finish and removes any loose particles. This step takes time but pays off in weld quality.
Visual and Tactile Inspection: How to Know Your Surface Is Ready#
A clean surface is visually uniform in color and texture, with no rust, paint, or discoloration. Run your hand over it; it should feel smooth and slightly rough (like fine sandpaper), not oily or sticky. If it feels oily, degrease again. If you see rust or discoloration, grind again.
For aluminum, the surface should be dull silver or white, not shiny. A shiny surface indicates unreacted oxide; sand it again. For stainless, the surface should be brushed or matte, not polished or reflective.
A simple test: wipe the surface with a clean white cloth. If the cloth picks up rust, paint, or grease, the surface is not ready. If the cloth stays clean, you are ready to weld.
Safety and Common Mistakes: Protecting Yourself and Avoiding Weld Failures#
Essential Safety Gear and Ventilation During Metal Surface Prep#
Grinding and wire brushing generate dust, sparks, and fine particles that can damage your eyes, lungs, and skin. Wear safety glasses or a face shield to protect against sparks and particles. A dust mask or respirator is essential; grinding steel produces iron oxide dust that is harmful if inhaled. For paint removal, especially old paint that may contain lead, a respirator rated for organic vapors is necessary.
Hearing protection is often overlooked. A grinder or rotary tool runs at high speed and produces noise that can damage hearing over time. Wear earplugs or earmuffs.
Ventilation is critical. If you are grinding indoors, open windows and use a fan to move dust out of your breathing zone. Paint thinner and rubbing alcohol produce fumes; use them in a well-ventilated area or outdoors. Never use them in a closed space or near an open flame.
Gloves protect your hands from sharp edges and hot surfaces. Wear leather or cut-resistant gloves when handling ground metal or wire brushes. Avoid loose clothing or jewelry that can catch on a rotating tool.
Homeowner Prep Mistakes That Lead to Failed Welds, and How to Avoid Them#
The most common mistake is incomplete rust removal; surfaces that look clean may still have hidden rust in pits, requiring grinding rather than just brushing. The fix: grind, do not just brush. Grinding removes rust completely and creates a uniform surface.
The second mistake is skipping degreasing, a surface that looks clean can still be oily, and oil is invisible but fatal to weld quality. Always degrease, even if the surface looks dry. Wipe with paint thinner or rubbing alcohol and let it dry completely before welding.
The third mistake is rushing the prep on aluminum. Aluminum oxidizes so fast after prep that a surface prepped in the morning is unusable by afternoon.
The fourth mistake is using the wrong tools. A steel-contaminated grinder on aluminum can introduce iron oxide that weakens the weld. Use dedicated tools for each material, or clean the tool thoroughly between materials.
The fifth mistake is not inspecting the surface before welding. A visual check takes 30 seconds and catches most problems. Look for rust, paint, discoloration, or oily residue. If you see any, prep again.
Speed vs. Quality: Time and Cost Trade-offs When You're Short on Prep Days#
If you have a few days, DIY prep is feasible. You can wire brush and grind rust, strip paint, degrease, and inspect at your own pace. The cost is your time and the cost of materials (abrasive discs, paint thinner, safety gear).
If you have a few hours, DIY prep becomes risky. You may rush the grinding, miss hidden rust, or skip degreasing. The weld may look good initially but fail later under load. This is where the professional move saves money in the long run: a fabricator with faster tools completes the prep in an hour and stands behind the work, a difference worth the cost for structural repairs.
If you have an emergency, a structural repair that cannot wait, call a fabricator. They have the tools and the experience to prep and weld in a single day, and they carry liability insurance if something goes wrong. The cost is higher than DIY, but the speed and accountability are worth it for structural work.
MIG and stick welding discipline exists precisely to close the gap between a homeowner's best effort and a professional standard. The discipline enforces prep standards because the cost of a failed weld, in safety, liability, and rework, far exceeds the cost of thorough preparation.
Assessing Your Repair: When to DIY and When to Call a Fabricator#
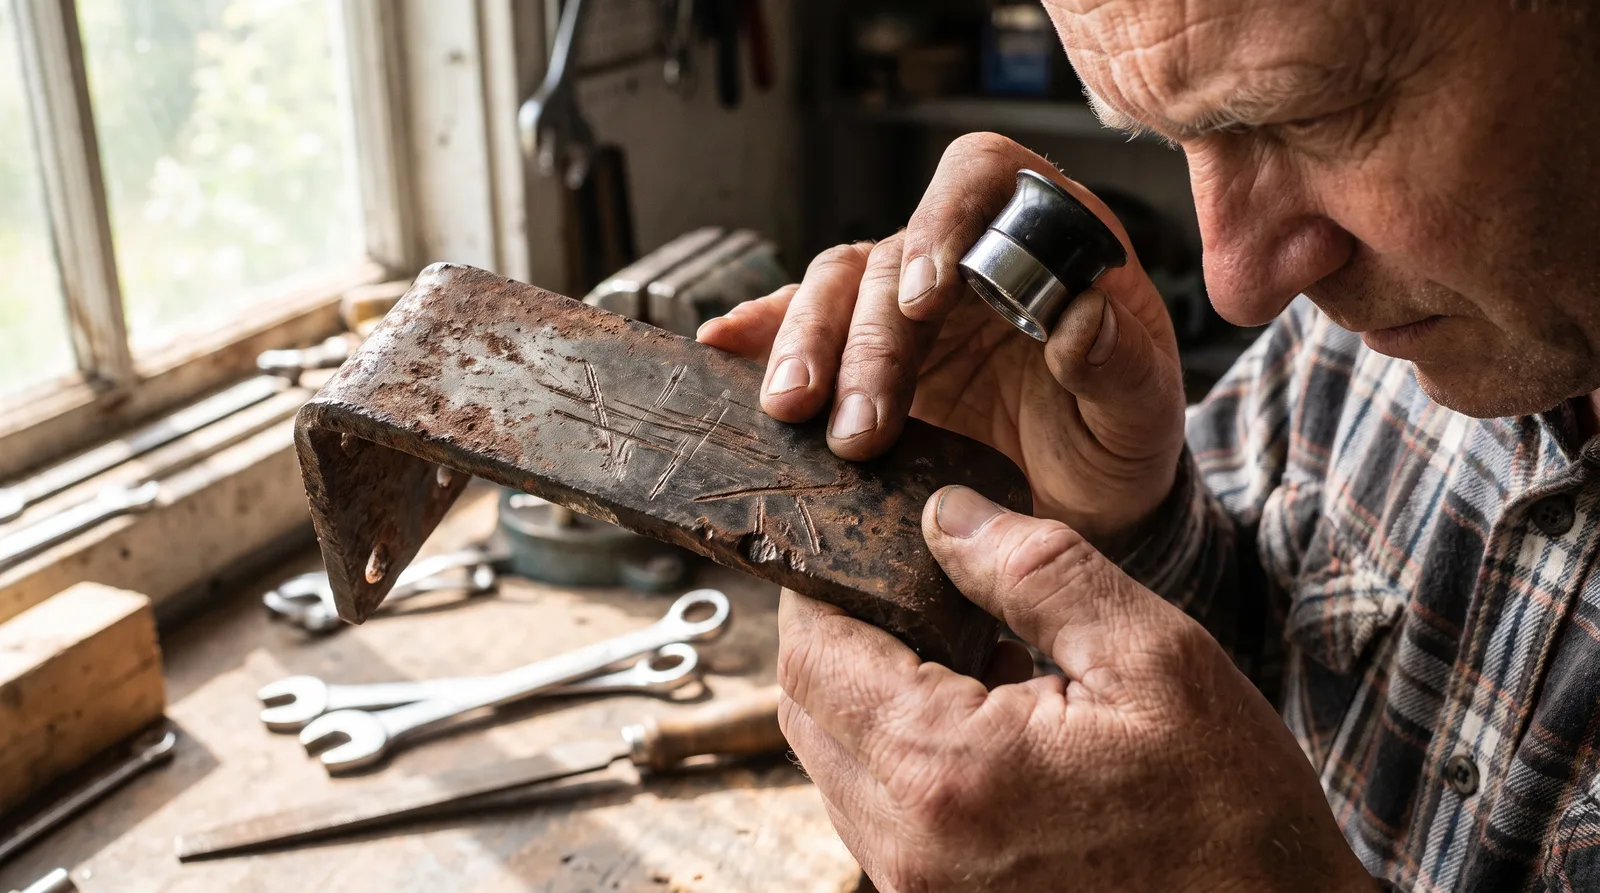
Before you start prepping, ask yourself three questions:
What is the repair's structural role? Is it decorative (a gate, a sign bracket) or load-bearing (a railing, a beam, a structural joint)? Decorative repairs tolerate imperfect prep. Structural repairs do not.
How much time do you have? If you have a week, DIY prep is reasonable. If you have a day, consider a professional. If you have hours, call a fabricator.
What is the material? Steel is forgiving; you can prep it over a few days. Aluminum demands same-day prep and welding. Stainless requires dedicated tools and care.
If your repair is decorative, you have time, and the material is steel, prep it yourself. If your repair is structural, time is short, or the material is aluminum or stainless, call a fabricator. Capital M Welding and Fabrication serves Detroit, Hamtramck, Ferndale, Royal Oak, Warren, Dearborn, Southfield, and Highland Park with 24-hour emergency response and mobile service. A free quote takes a few minutes and gives you a clear picture of what the job costs and how long it takes.
The honest assessment: a professional prep job costs more upfront but saves time, ensures quality, and protects you if the repair fails. For a homeowner, that trade-off is worth making for anything structural or time-sensitive.
| Material | Oxide Layer Behavior | Prep Approach | Timing Constraint | Tool Consideration |
|---|---|---|---|---|
| Mild Steel | Forms dark, brittle mill scale | Grinding or wire brushing to remove scale | Flexible, can prep hours or days ahead | Standard tools acceptable |
| Aluminum | Oxidizes rapidly after prep | Sand with P120-P180 grit paper, then weld or prime immediately | Critical, oxidation forms within 15 minutes if not primed or treated | Must weld or prime same day; re-sanding required if delayed |
| Stainless Steel | Thin passive oxide layer protects base metal | Finer abrasives and gentle methods to avoid pitting | Moderate, must protect passive layer | Dedicated tools only; steel-contaminated tools cause rust contamination |
| Repair Type | Structural Role | Prep Timeline | Recommended Approach | Key Benefit |
|---|---|---|---|---|
| Routine repair | Decorative or non-load-bearing (gate hinge, bracket, loose joint) | Few days available | DIY prep with hand tools | Lower stakes; failed decorative weld is inconvenience, not hazard |
| Emergency structural repair | Load-bearing or safety-critical (cracked beam, failed railing, load-bearing joint) | Urgent or cannot wait | Professional fabricator | Speed (hours vs. days), accountability, documented inspection for liability protection |
| Complex material work | Any repair in aluminum or stainless requiring precision timing | Time-sensitive or tight window | Professional fabricator | Access to specialized tools (angle grinders, degreasing stations) and material expertise |
| Contaminant | Failure Mode | Weld Defect | Detection & Risk |
|---|---|---|---|
| Rust / Mill Scale | Brittle, porous weld | Porosity (tiny voids); poor fusion | Sudden failure under stress; detectable by inspection |
| Paint / Grease | Gas entrapment during burn-off | Spatter, poor fusion, surface cracks | Weakened joint; visible defects |
| Moisture / Oil | Hydrogen absorption and embrittlement | Delayed cracking hours or days after cooling | Dangerous in high-strength steels; cannot be detected by eye until failure occurs |
Frequently Asked Questions
Can I weld over rust, or do I need to remove it completely?
You must remove rust completely before welding. Rust is porous and weak, preventing the arc from melting it cleanly into the weld pool. This traps gas, creating porosity and voids that weaken the joint and cause sudden failure under stress. Incomplete rust removal directly contributes to weld failures.
Why can't I prep aluminum in the morning and weld it in the afternoon?
Aluminum oxidizes extremely rapidly after surface prep, oxide forms within 15 minutes if the surface is not immediately primed or chemically treated. This narrow window means you must sand with P120-P180 grit paper and weld or prime the same day. Any delay requires re-sanding to remove the new oxide layer.
What's the fastest way to prep metal for welding if I'm short on time?
Call a professional fabricator. A homeowner with hand tools may spend a full day prepping a small structural joint, while a fabricator with angle grinders and degreasing stations completes the same job in one hour, then welds and inspects it the same day, saving time and creating documented proof of prep quality for safety and liability.
How do I know when my metal surface is clean enough to weld?
Visually inspect the surface, it should be free of rust, mill scale, paint, grease, and moisture with no visible contamination. For aluminum, work immediately after sanding with P120-P180 grit paper and before oxidation forms (within 15 minutes). For stainless, ensure no rust particles from steel-contaminated tools are present. When in doubt, professional inspection provides documentation of readiness.
Why should I hire a fabricator for a structural repair instead of doing it myself?
Structural repairs demand speed, accountability, and inspection documentation. A professional has the tools to prep quickly and inspects the surface before welding, creating a record that protects you legally if failure occurs. For safety-critical work, that documentation, and the fabricator's liability insurance, is worth the cost.
Does poor surface prep really affect weld strength?
Yes, inadequate surface preparation directly causes weld failures. The bonded joint can only be as strong as the surface itself. Dirt and moisture create weak points prone to cracking under stress, and some damage like hydrogen embrittlement won't show visually until the weld suddenly fails.
Why does stainless steel need dedicated tools and finer abrasives?
Stainless's passive oxide layer is what makes it corrosion-resistant. Aggressive grinding can damage this protective layer and cause pitting (small corrosion holes). Using steel-contaminated grinders introduces rust particles that defeat corrosion resistance. Dedicated tools and gentler, finer abrasives preserve the oxide layer's protection.
How should metal surfaces be prepared before gluing?
Metal surfaces must be thoroughly cleaned to remove rust, oxide layers, paint, grease, and moisture that prevent adhesive bonding. Sand aluminum with medium-grit sandpaper and treat chemically or prime within 15 minutes to stop oxidation. Wire-brush steel to eliminate rust and scale, then wipe away oils and grease. Complete all preparation steps immediately before applying adhesive, as any remaining contamination will compromise joint strength.
Sources
- irimee.indianrailways.gov.in (via Perplexity sonar-pro) - Irimee (2026-09-06)
- Preparing Bare Aluminum | SOPs | Refinish - PPG - PPG (2026-09-06)