
Why Your DIY Weld Might Not Be Strong Enough (And When to Call a Pro)
Short answer
DIY welds often fail in load-bearing applications because amateur welders rarely achieve the penetration and fusion that structural safety demands. Professional welders operate at 7-8% defect rates, yet the industry safety target is 1%. Residential gates, railings, and security structures face wind loads and repeated stress that expose incomplete penetration within weeks. Call a professional when the weld carries a load, supports weight, or failure could injure someone.
Why DIY Welds Fail in High-Stakes Applications: A Professional Fabricator's Reality Check#
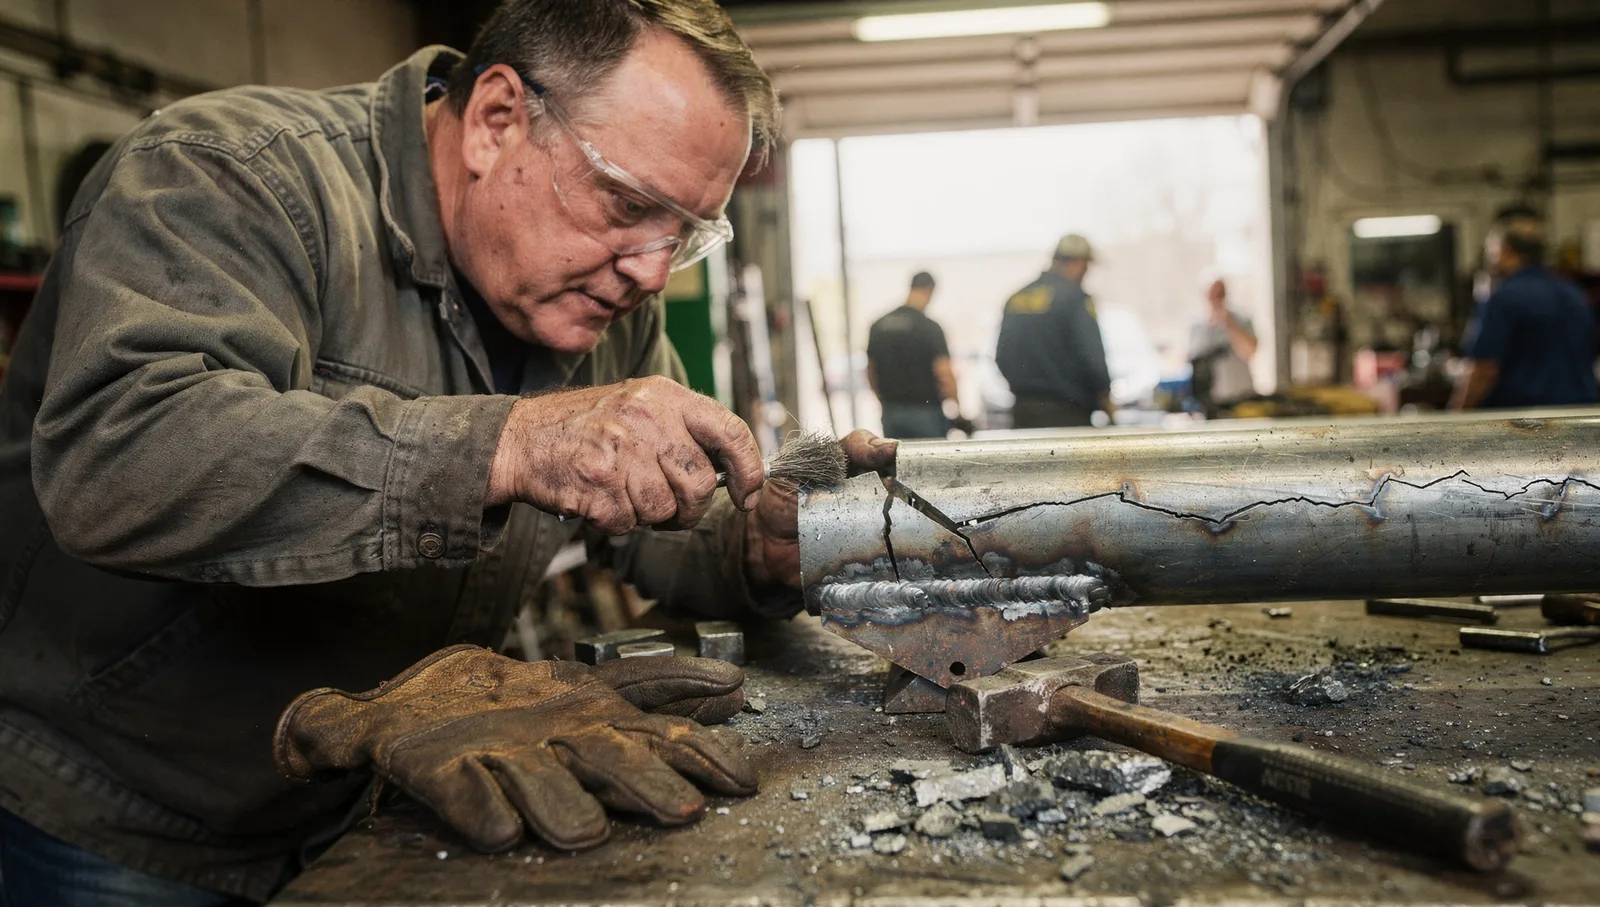
A weld that looks solid to the naked eye can fail catastrophically under load because defects live inside the bead where no visual inspection reaches them. The gap between what amateur welders produce and what structural safety requires is not a matter of technique alone, it is a gap in defect control, material science, and post-weld verification that separates a gate that holds for decades from one that fails under a child's weight.
The Metro Detroit Standard: Why Industrial Defect Rates Still Exceed Safety Targets#
Professional welders working in controlled industrial environments achieve defect rates of 7-8%, yet the quality target that fabricators aim for is 1%. That gap, from 7-8% down to 1%, represents the difference between a trained workforce, calibrated equipment, formal inspection protocols, and real-time process control. A DIYer working in a garage without formal training, without equipment calibration, and without post-weld inspection operates at defect rates that far exceed even the professional baseline.
More than 1 in 5 welded products made with professional equipment and organized production still carried defects classified as faulty. If one in five passes through a professional shop with defects, a DIYer's odds are substantially worse. The defects that slip through, incomplete penetration, lack of fusion, porosity, cracks in the heat-affected zone, do not announce themselves until the weld is under load.
From Shop Floor to Your Gate: How Load-Bearing Applications Expose DIY Shortcuts#
A residential gate weld must resist both static load (the weight of the gate itself) and dynamic loads (wind pressure, repeated opening and closing, impact from a vehicle or person leaning on it). A railing weld must support a person's full body weight applied suddenly, a substantial adult weight falling against it, or a child hanging on it. A security cage weld must resist both static load and the dynamic stress of repeated impact or attempted breach.
Structural welds are not decorative welds, and they fail when the bead lacks full penetration or when the heat-affected zone (the material adjacent to the weld bead, where heat has altered the metal's properties) becomes brittle and cracks under stress. A gate that holds initially may fail after extended use when fatigue, the cumulative damage from thousands of open-close cycles, reaches the defect and propagates a crack.
DIYers typically do not perform formal stress analysis or calculate the correct weld size needed for the load. Instead, they size the weld by eye or by rough rule of thumb: "a bigger bead looks stronger." In reality, a larger bead on an incomplete penetration is just a larger defect waiting to fail.
Weld Strength Fundamentals: Penetration, Fusion, and Real Load Requirements#
How to Assess Weld Adequacy: Penetration, Fusion, and Real Load Requirements#
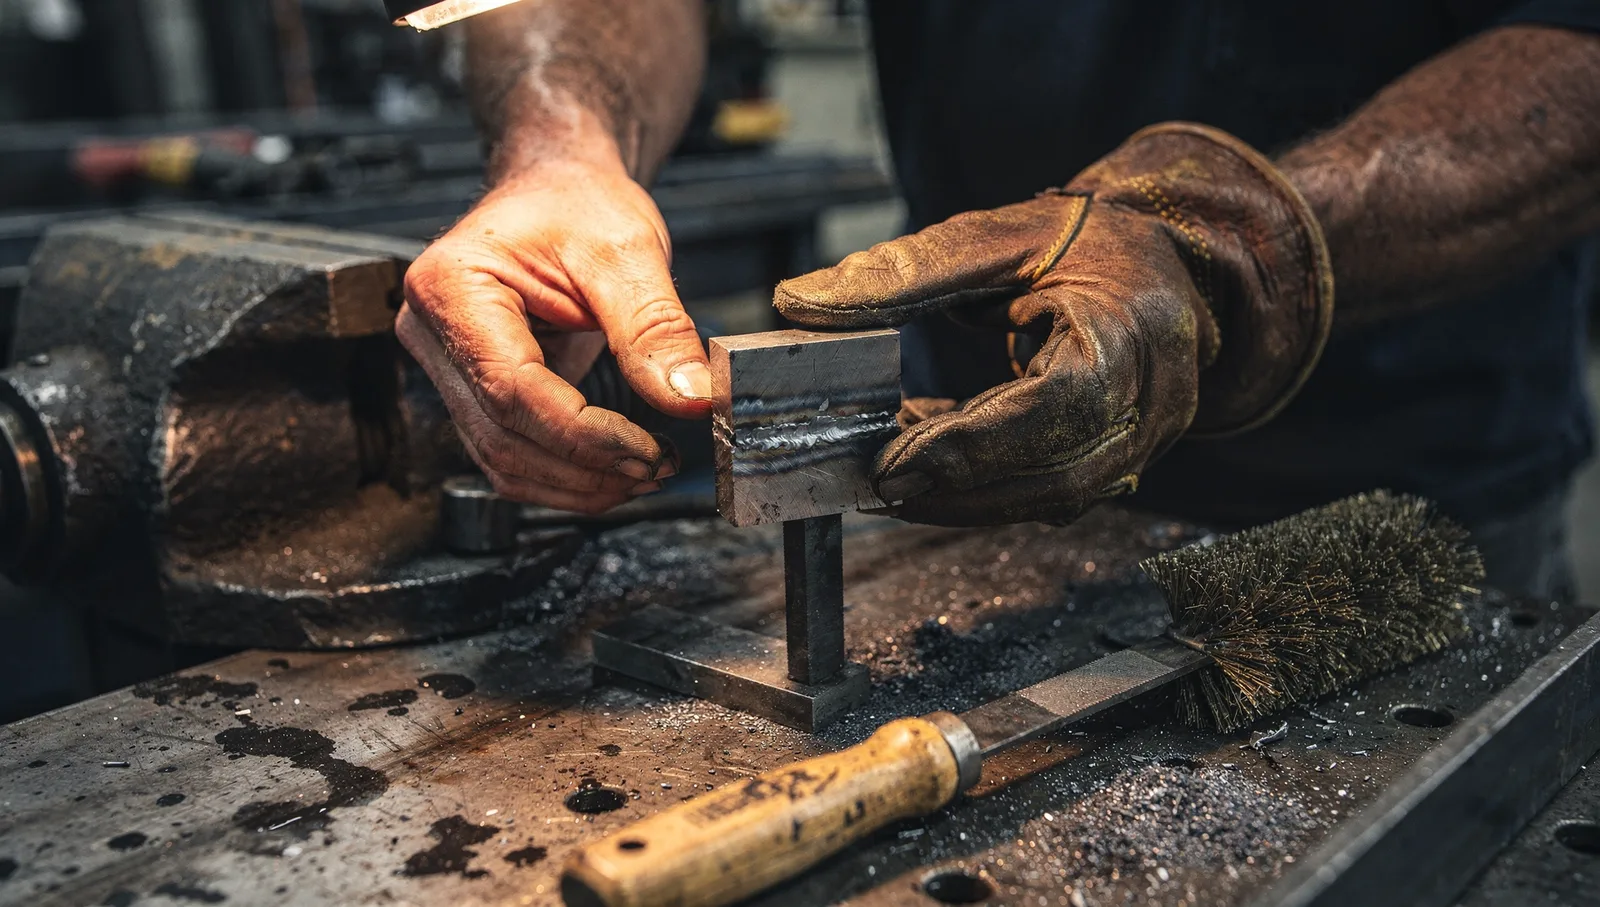
Weld penetration is the depth to which the weld metal fuses into the base metal. Good weld penetration is defined as the weld bead occupying a little bit more than 100% of the base metal thickness, meaning the molten metal flows completely through the joint and slightly beyond, creating a continuous bond across the full cross-section. Without full penetration, the weld is only as strong as the thinnest unfused layer, and that layer will crack under load.
Fusion is the metallurgical bond between the weld metal and the base metal. A bead can sit on top of the base metal without fusing to it, a condition called lack of fusion, and it will peel away under stress like a sticker on a wet surface. Visual inspection alone cannot detect incomplete penetration or lack of fusion. The defect is internal. Industrial inspection methods, ultrasonic testing, radiography, or destructive sectioning, are required to verify weld soundness, and DIYers do not have access to these tools.
A DIY welder cannot reliably assess whether their own weld has achieved full penetration and fusion. They can look at the bead profile, the color, and the surface finish, but none of these tell them what is happening inside the joint. This is the core problem: the welds that fail are often the ones that looked acceptable to the person who made them.
Why Weld Penetration Fails (And It's Not Just Your Equipment)#
Incomplete penetration occurs when the arc does not generate enough heat to melt completely through the joint. The causes are multiple and often compound:
Arc angle and travel speed: If the electrode or torch is held at too shallow an angle, or if the welder travels too fast, the arc does not dwell long enough to melt the root of the joint. The molten pool freezes before it reaches the far side of the base metal.
Joint preparation: If the joint is not properly beveled or if there is rust, mill scale, or oil on the base metal, the arc energy is wasted cleaning the surface instead of melting the root. Professional fabricators grind and wire-brush joints before welding; DIYers often skip this step.
Amperage and voltage settings: Undersized equipment or incorrect settings produce an arc that is too cold to achieve full penetration. A smaller MIG welder cannot penetrate thicker steel plate the way a larger machine can, yet many DIYers use whatever equipment they have on hand.
Base metal thickness and composition: Thicker base metal requires more heat input to achieve penetration. Aluminum and stainless steel conduct heat away from the weld zone faster than mild steel, making penetration harder to achieve. A DIYer who successfully welds mild steel may fail completely on aluminum without changing their technique.
Ambient temperature: Cold weather slows cooling and can trap hydrogen in the weld, causing delayed cracking. Humidity and wind can also disrupt the shielding gas and cool the arc prematurely.
MIG and stick welding discipline exists precisely to close this gap, to enforce the joint prep, the settings, the angle, the speed, and the post-weld inspection that separates a sound weld from a defective one. A DIYer who skips these steps is gambling that their intuition and their equipment will compensate, and the odds are not in their favor.
Application-Specific Strength: What Residential Gates, Railings, and Structural Steel Actually Demand#
A residential gate hinge weld must support the full weight of the gate (often substantial) plus the dynamic shock of slamming. A railing weld must support a person of typical adult weight falling against it.
Each application has an implicit load requirement. A gate hinge weld that is undersized or defective will fail within months to several years. A railing weld that lacks fusion will crack the first time someone leans hard on it. A security cage weld that has incomplete penetration will fail when tested under load.
Professional fabricators size welds using stress analysis and design codes (such as AWS D1.1, the structural welding code). They calculate the load, the stress concentration, the fatigue life, and the safety factor, then specify a weld size and process that will reliably meet those demands. A DIYer does not perform this analysis. They make a weld that looks reasonable and hope it holds.
Aluminum Welding vs. Mild Steel: Why DIYers Consistently Underestimate Aluminum's Complexity#
Aluminum welding is fundamentally different from mild steel welding, and most DIYers do not appreciate the difference until their aluminum weld fails.
Aluminum conducts heat away from the weld zone significantly faster than mild steel. This means the arc must be hotter and the travel speed must be slower to achieve penetration. A DIYer who successfully welds mild steel with a MIG gun at a certain speed and voltage will likely fail on aluminum if they use the same settings, the penetration will be shallow and the weld will be weak.
Aluminum also forms an oxide layer on its surface that has a much higher melting point than the base metal itself. This oxide must be removed before welding, and it reforms instantly if the surface is exposed to air. Professional aluminum welders use a wire brush or grinding wheel immediately before welding, and they work quickly to prevent oxide reformation. DIYers often skip this step or do it carelessly, and the oxide traps gas in the weld, creating porosity and reducing strength.
Aluminum welds are also prone to hot cracking, cracks that form as the weld cools because aluminum shrinks significantly during solidification. A weld that looks sound when it cools may crack days or weeks later as residual stress builds. A DIYer has no way to predict or prevent this without formal training in aluminum metallurgy.
A weld in aluminum that is structurally sound is far harder to achieve than a comparable mild steel weld. DIYers who attempt aluminum welding without formal training or equipment designed for aluminum (such as a spool-gun MIG welder or a TIG welder) are almost certain to produce defective welds.
How DIY Welds Break: Failure Mechanisms and Heat-Affected Zone Degradation#
Common DIY Methods and Their Structural Limits (Stick, MIG, Flux-Core)#
Stick welding (SMAW) is the oldest and most forgiving process for DIYers because it works outdoors, in wind, and on dirty metal. A stick welder can produce a sound weld if they maintain the correct arc length, travel speed, and angle. Stick welding is slow, produces slag that must be chipped away, and requires skill to avoid defects like incomplete penetration and lack of fusion. A DIYer using stick welding on a load-bearing joint is likely to produce a weld with incomplete penetration if they do not have formal training.
MIG welding (GMAW) is faster and easier to learn than stick welding, which is why many DIYers prefer it. However, MIG welding is sensitive to shielding gas coverage, wire feed speed, and voltage. If the shielding gas is disrupted by wind or if the wire feed is inconsistent, the weld will have porosity or lack of fusion. A DIYer using a small MIG welder on thick material will struggle to achieve full penetration because the equipment simply does not generate enough heat.
Flux-core welding (FCAW) uses a hollow wire filled with flux, which eliminates the need for external shielding gas. This makes it attractive to DIYers working outdoors or in windy conditions. However, flux-core welding produces more spatter and slag than MIG welding, and the weld quality is highly dependent on the wire type, the equipment settings, and the operator skill. A DIYer using flux-core welding on a load-bearing joint is likely to produce a weld with defects if they do not have formal training and equipment calibration.
All three processes can produce sound welds in the hands of a trained, equipped operator. In the hands of a DIYer, all three are prone to defects that are invisible to the naked eye.
Heat-Affected Zone Degradation: Material Property Changes That Inspection Can't Always Catch#
The heat-affected zone (HAZ) is the region of base metal adjacent to the weld bead that has been heated by the welding arc but not melted. In this zone, the metal's microstructure changes, grain size increases, and in some materials (particularly high-carbon steel and some aluminum alloys), the metal becomes harder and more brittle.
In mild steel, the HAZ typically becomes harder and more brittle than the base metal. This brittleness can lead to cracking, especially if the weld cools rapidly (which happens in cold weather or when welding thick material). A crack in the HAZ may not be visible on the surface; it may be internal and only become apparent when the weld is under load.
In aluminum, the HAZ loses strength as the metal cools. An aluminum weld that is structurally sound in the weld bead itself may be weak in the HAZ, and the failure will occur in the HAZ rather than in the weld. This is particularly true for heat-treatable aluminum alloys (such as 6061 or 7075), where the welding process destroys the heat treatment and leaves the HAZ in a soft, weak state.
A visual inspection of the weld surface cannot detect HAZ degradation. The weld may look perfect, but the HAZ may be cracked or weak. Only destructive testing (cutting the weld open and examining the microstructure) or advanced non-destructive testing (ultrasonic or radiographic inspection) can reveal HAZ defects. A DIYer has no way to verify that the HAZ is sound.
Real-World Weld Failure Modes in Residential and Commercial Structures#
Weld failures in residential and commercial structures follow predictable patterns:
Incomplete penetration failure: The weld bead sits on top of the base metal without fusing completely through the joint. Under load, the unfused layer acts as a stress concentration, and a crack initiates and propagates through the joint. This is the most common failure mode for DIY welds.
Lack of fusion failure: The weld metal does not bond to the base metal or to a previous weld pass. The weld peels away under load, leaving the joint open. This is common when the base metal is not properly cleaned or when the arc is too cold.
Fatigue failure: The weld is sound under static load but fails after thousands of cycles of stress (such as a gate opening and closing, or a railing being leaned on repeatedly). Fatigue cracks initiate at stress concentrations (such as the toe of the weld) and propagate slowly until the remaining cross-section is too small to carry the load. A weld with incomplete penetration or a sharp toe profile is particularly prone to fatigue failure.
Brittle fracture: The weld or HAZ becomes brittle due to rapid cooling, hydrogen absorption, or material composition. Under impact or sudden load, the weld fractures suddenly without warning. This is common in high-carbon steel or in welds made in cold weather.
Corrosion failure: The weld corrodes faster than the base metal due to galvanic action or because the weld surface is rough and traps moisture. Over time, the corrosion reduces the cross-section of the weld until it is too thin to carry the load. This is common in outdoor applications or in welds exposed to salt water.
Each of these failure modes is invisible until the weld is under load. A DIYer cannot predict or prevent them without formal training and post-weld inspection.
Inspection, Liability, and When to Call a Professional#
DIY Inspection Techniques: What You Can Verify and What You Cannot#
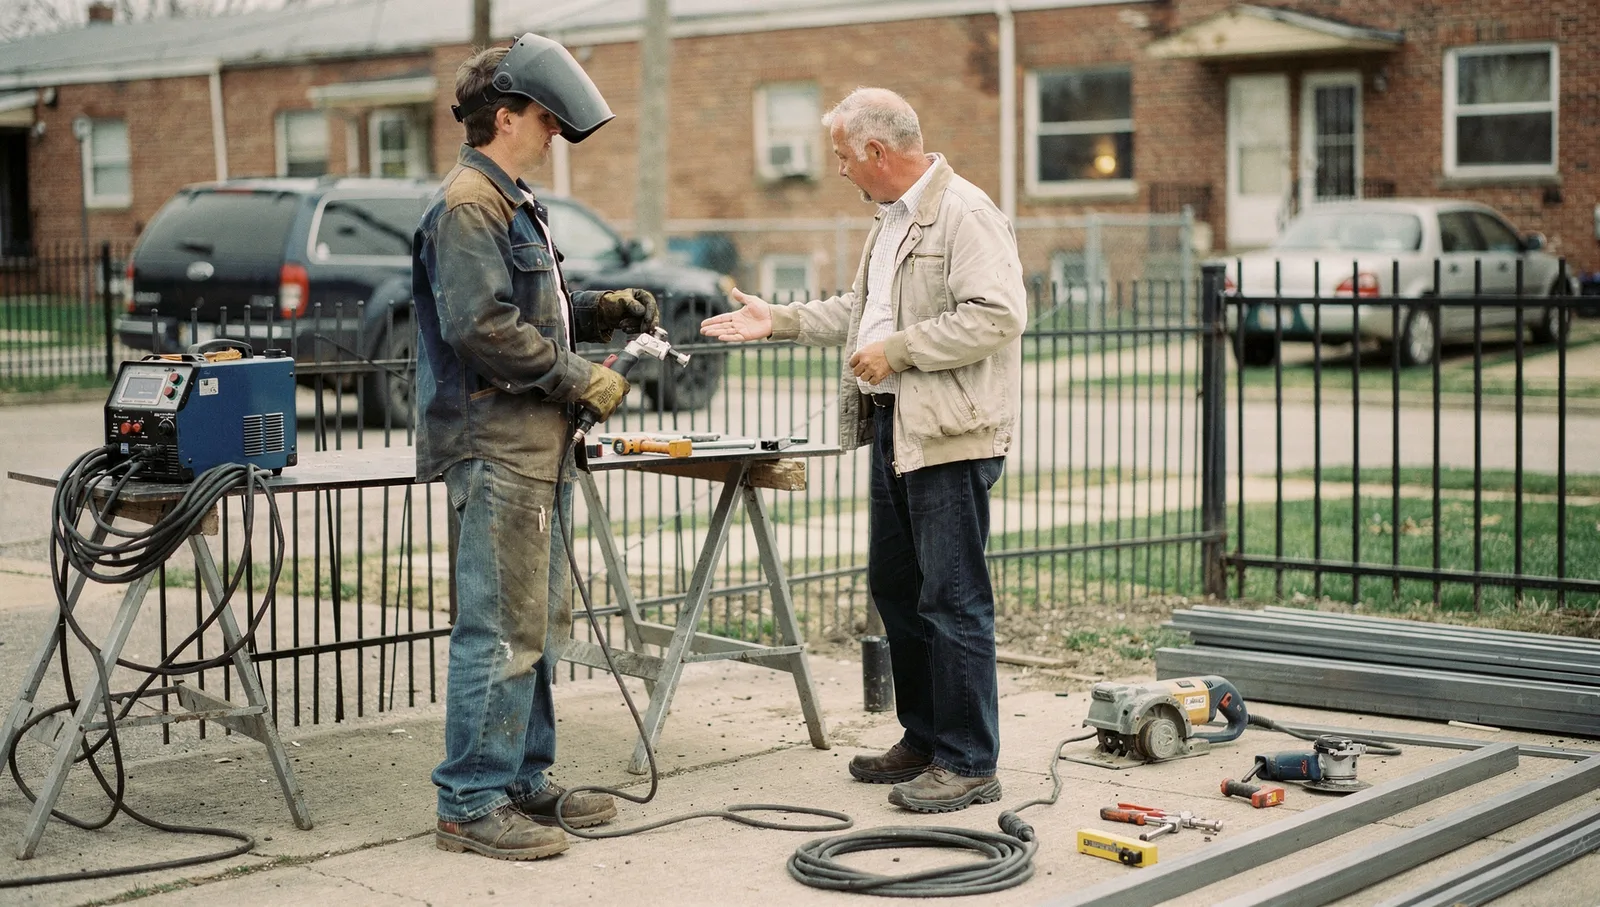
However, visual inspection cannot detect the defects that cause most failures:
- Incomplete penetration (the weld does not fuse completely through the joint)
- Lack of fusion (the weld does not bond to the base metal)
- Porosity (gas pockets trapped in the weld)
- Cracks in the HAZ (internal cracks that do not reach the surface)
- Hydrogen embrittlement (delayed cracking that occurs hours or days after welding)
To detect these defects, a professional uses ultrasonic testing (sending sound waves through the weld to detect internal flaws), radiography (X-rays to visualize the weld interior), or dye penetrant testing (a liquid that seeps into surface cracks and is then made visible). These methods require specialized equipment and training. A DIYer does not have access to them.
A DIYer can also perform a bend test or a tensile test on a test coupon (a piece of metal welded under the same conditions as the actual weld), but this is destructive testing, it destroys the test piece, and it does not guarantee that the actual weld is sound. A professional fabricator may perform destructive testing on a sample weld to verify the process, but they do not test every weld this way.
In practice, a DIYer's only reliable inspection method is to assume the weld is defective until proven otherwise, and the only way to prove it is to have it inspected by a professional or to wait and see if it fails under load. Neither option is acceptable for a load-bearing weld.
Liability and Safety Risks: What Happens When a Structural Weld Fails#
If a DIY weld fails and injures someone or damages property, the person who made the weld is liable for the injury or damage. This liability is not limited to the cost of repair; it includes medical bills, lost wages, pain and suffering, and punitive damages if the failure was due to gross negligence.
A gate weld that fails and allows the gate to fall on a child can result in serious injury or death. A railing weld that fails and allows a person to fall can result in a fatal injury. A security cage weld that fails and allows a breach can result in theft or injury. In each case, the person who made the weld is liable.
Additionally, if the weld was made on a structure that is subject to building codes or safety standards (such as a railing on a deck or a gate on a commercial property), the failure may also violate those codes, and the property owner may face fines or legal action from local authorities.
Insurance does not cover liability for DIY welds on load-bearing structures. A homeowner's insurance policy typically excludes coverage for structural work performed by the homeowner without a licensed contractor. If a DIY weld fails and causes injury, the homeowner is personally liable for all damages.
Emergency Professional Repair: Cost, Timeline, and When It Becomes Inevitable#
When a DIY weld fails, the only option is to have it repaired by a professional. The cost of emergency repair is considerably higher than the cost of having the weld done correctly the first time, because emergency repair requires:
- Immediate response (often 24-hour service)
- Overtime labor (nights, weekends, holidays)
- Expedited scheduling (the repair is prioritized over other work)
- Potential material rush charges (if special materials are needed)
- Possible additional work (if the failure has damaged adjacent structures or if the root cause of the failure must be investigated)
A simple gate hinge reweld that would cost a few hundred dollars if done initially may cost several thousand dollars as an emergency repair.
Additionally, the timeline for emergency repair is unpredictable. A professional welder may be able to respond within hours, but they may also be booked with other work and unable to respond for a day or more. During that time, the structure is unsafe and may need to be cordoned off or closed to the public.
Capital M Welding and Fabrication serves Detroit, Hamtramck, Ferndale, Royal Oak, Warren, Dearborn, Southfield, and Highland Park with mobile and 24-hour emergency service for critical welding failures. However, even with rapid response, the cost and disruption of an emergency repair far exceed the cost of having the weld done correctly initially.
The Path Forward: When to Call a Professional#
If you are considering a DIY weld on a load-bearing structure, ask yourself these questions:
- Does the weld carry a load or support weight? If yes, call a professional.
- Could failure of this weld injure someone or damage property? If yes, call a professional.
- Is this weld subject to building codes or safety standards? If yes, call a professional.
- Am I confident that I have the training, equipment, and inspection capability to ensure this weld is sound? If no, call a professional.
If you have a broken gate, a railing that needs fixing, or a fabrication job that requires structural welding, the move is to get a professional quote and have the work done right the first time. The cost of doing it correctly is far less than the cost of emergency repair, and the safety of the structure and the people who rely on it is not negotiable.
| Environment | Defect Rate | Key Conditions |
|---|---|---|
| Controlled industrial (trained welders) | 7–8% | Calibrated equipment, formal inspection, process control |
| Robotics (high-volume, critical joints) | 0.1% | 4–5 piece weldment, seam tracking, laser search, robots less than 3 years old |
| DIY garage operation | Substantially worse than 7–8% | No formal training, no equipment calibration, no post-weld inspection |
| Failure Mode | How It Develops | Why DIYers Miss It |
|---|---|---|
| Incomplete penetration | Arc doesn't generate enough heat to melt through the joint; arc angle, travel speed, or amperage insufficient | Visual inspection cannot detect internal defects; only ultrasonic testing or radiography reveals it |
| Lack of fusion | Weld bead sits atop base metal without metallurgical bond; surface not properly cleaned | Bead profile and color appear acceptable; internal bond failure is invisible |
| Heat-affected zone brittleness | Heat alters metal properties in zone adjacent to bead, becoming brittle under stress | Cannot be assessed by eye; requires material science knowledge and stress analysis |
| Porosity and cracks | Hydrogen trapping in cold weather; shielding gas disrupted by wind or humidity | Surface finish may look smooth; subsurface voids and micro-cracks are hidden |
| Sulfur Content | Weld Bead Shape | Flow Mechanism |
|---|---|---|
| Less than ~30 ppm (0.003 wt%) | Wide and shallow | Outward surface tension-driven fluid flow |
| Above 100 ppm (0.010 wt%) | Narrower and deeper | Inward surface tension-driven fluid flow |
Frequently Asked Questions
Can you DIY welding safely for structural applications?
DIY welding on load-bearing structures like gates and railings carries substantial risk because amateur welders lack access to the inspection tools, ultrasonic testing, radiography, or destructive sectioning, needed to verify full penetration and fusion. Even professional shops with trained workers, calibrated equipment, and organized production lines experience defect rates far exceeding safety targets. A DIYer cannot reliably assess whether their weld has achieved the internal soundness required to handle static loads, dynamic stresses, fatigue cycles, and impact without formal training, equipment verification, and post-weld inspection.
Why does aluminum welding fail more often than steel when attempted by DIYers?
Aluminum and stainless steel conduct heat away from the weld zone much faster than mild steel does, requiring significantly more heat input to achieve full penetration. A DIYer who succeeds welding mild steel often lacks the equipment power, amperage settings, or technique adjustment needed to penetrate thicker aluminum. Without changing their approach and parameters, they will fail to achieve the complete fusion and penetration that aluminum demands, yet the bead may appear acceptable to the naked eye.
What are the main reasons why my weld isn't penetrating?
Incomplete penetration stems from multiple compounding causes: arc angle or travel speed too shallow or fast; joint preparation inadequate (rust, mill scale, or oil present); amperage and voltage settings undersized for the material thickness; base metal composition (aluminum and stainless conduct heat faster than mild steel); and ambient conditions like cold weather or wind disrupting the shielding gas. Professional fabricators control all these variables through equipment calibration, joint grinding and wire-brushing, and formal procedure, most DIYers address none of them systematically.
What liability do you face if a DIY weld fails on a structure someone relies on?
If a DIY weld fails and injures someone or damages property, you are liable, and not just for the repair: medical bills, lost wages, pain and suffering, and punitive damages if the failure came from gross negligence. Homeowner's insurance typically excludes structural work done without a licensed contractor, so you pay personally. If the structure is subject to building codes, you may also face fines or legal action from local authorities.
Why does good weld penetration matter so much for safety?
Good penetration means the weld bead occupies a little bit more than 100% of the base metal thickness, creating a continuous metallurgical bond across the full cross-section. Without it, the weld is only as strong as the thinnest unfused layer, which will crack under load. Residential gates, railings, and security cages experience both static loads (the structure's own weight) and dynamic stresses (wind, repeated cycles, sudden impact), and a shallow, incompletely fused bead will fail under these stresses, often without warning because the defect is internal and invisible.
How do professional welders manage to keep defect rates even close to acceptable targets?
Even in controlled industrial settings with trained welders, formal inspection protocols, and real-time process control, defect rates reach 7-8% while the quality target is 1%. Professionals succeed through equipment calibration, formal weld procedures, joint preparation (grinding and wire-brushing), amperage and voltage verification, post-weld inspection (ultrasonic testing or radiography), and stress analysis before fabrication. More than 1 in 5 products made with professional equipment and organized production still carried defects, underscoring how difficult defect control is, a gap a DIYer working alone in a garage cannot possibly close.
Sources
- ejournal.itn.ac.id (via Perplexity sonar-pro) - Ejournal (2026-09-06)
- www.academia.edu (via Perplexity sonar-pro) - Academia (2026-09-06)
- Weld Penetration Standards - APP (2026-09-06)
- Weld Penetration Question - APP (2026-09-06)
- Robot Weld Quality-Industrial Defect Rate/Zero Defect Rate? - APP (2026-09-06)